How to make a Wicked Nice Witch! :-)
Ok, so you all have seen my Witch’s Workshop cake and I promised a tutorial for the Witch, so here we are!
1. First you would need to color a ball of fondant in the skin color the witch would have- white, brown, yellow or green, you choose! 🙂
2. Take a piece of fondant and make a ball that would be with the size of the head for the witch you need. 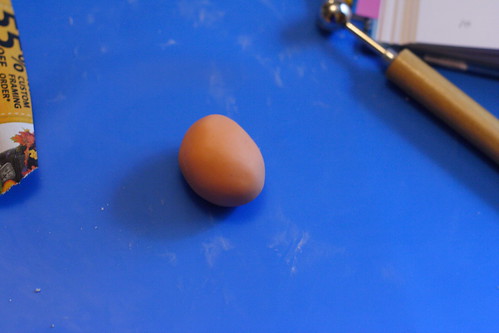
3. Mold the eyebrows and nose using your gum paste tools.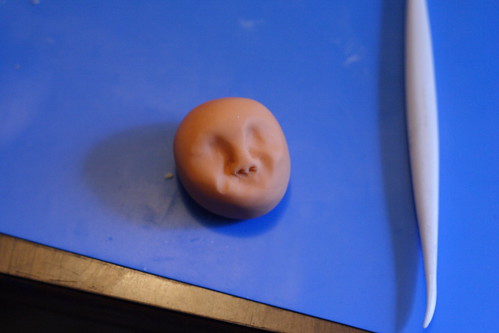
4. It really helps to look at real people’s pictures while modeling a face, because it gives you an idea what you have to do. There is no recipe how exactly do make a face, but basically you have to push around the dough with your fingers and tools to make the shapes look like they are part of a face. This takes some practice, so don’t be discouraged if you don’t get it the first time! 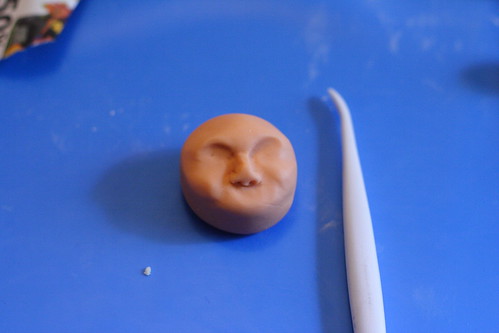
5. The tinier the figure, the greater the difficulty you are going to experience while making it. This witch fit in my hand and it was really difficult to make.
Next step would be to take 2 small white balls of fondant or gum paste and form the eyes and the base of the eyelid .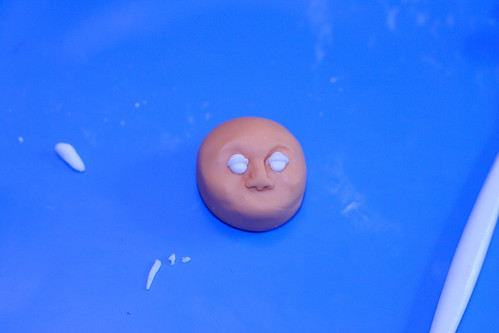
6. With your thumb and finger slightly pull up the base of the neck using the dough from the back of the head, just pressing your fingers together while being careful not to disfigure the face.
With the pointy tool on the picture make a slight opening for the mouth,curl up the edges for the lips and then “install” the teeth made out of white fondant. 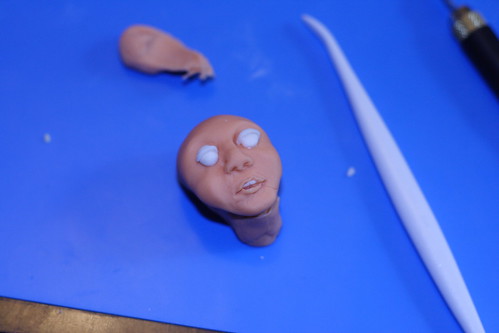
7. Now is the time to add facial expression, so if you have one in mind, go for it!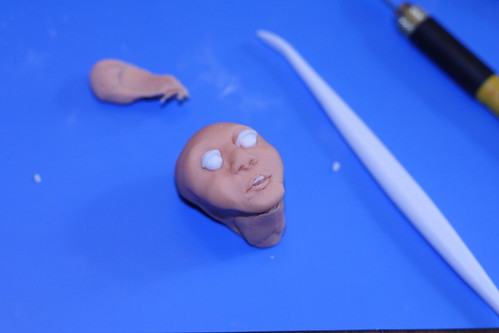
I didn’t want my witch to be too scary 😉
8. Place the eyelids on top of the white eyeballs, then add some wrinkles and perhaps the hat 🙂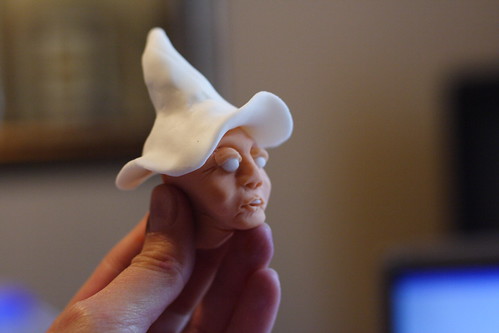
The hat you can make very simple- from a ball make cone shape, then pres slightly with your fingers to thin the edges and shape the brim, and voila, there is the witch’s hat! 🙂
Here is one more picture of it: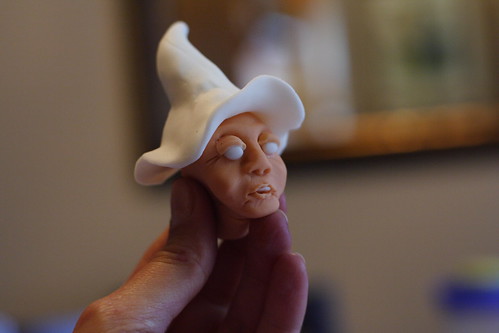
9. Now is time to color and make other details too! Make the eyes, eyelashes, add some hair ( not all of it at this point, the rest would be when you “install” the hat), and some darker color to the cheeks and face ( she needs to look like a witch after all!)
I had the dilemma if I should put a mole on her nose or not…but decided against it at the end. If I’ve made the nose more scary, I would have though! But the cake was for small kids, I didn’t want the witch to give them nightmares! 🙂 On the background you see the witch’s legs with stalkings and shoes.
10. For the body, use a large ball of fondant or gumpaste with the color of the witch’s dress, then shape it with your fingers to form a waist line and chest.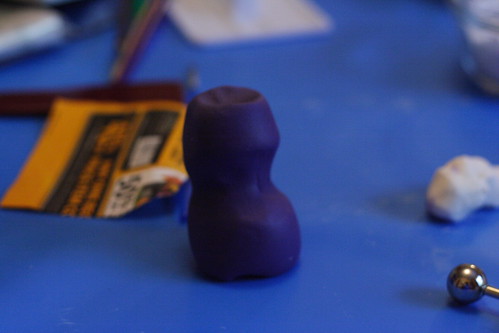
11. Place a “skirt” of the same color over the bottom part of of the Witch’s torso, then add an apron and maybe some layering under the skirt. I made the mistake to leave the layering after I made the skirt, but initially the legs were supposed to dry before that, so I could have layered everything on top. Unfortunately I didn’t have the time to wait for the legs to dry up…so I had to improvise.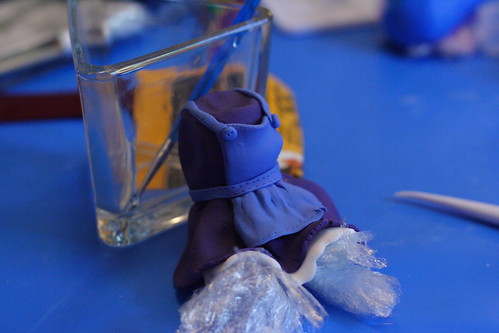
12. So now we have the hat, the legs, the head and the torso, it’s time to make some arms and cape! 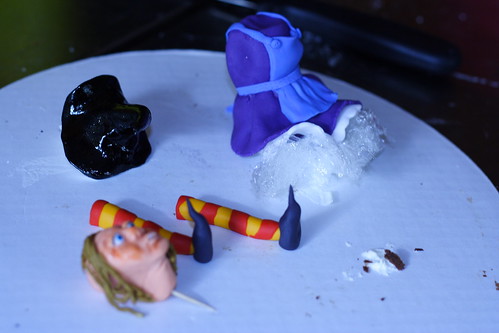
13. I advise you to place the head after you put the cape on, so it would give the impression that it fit’s snugly with the collar.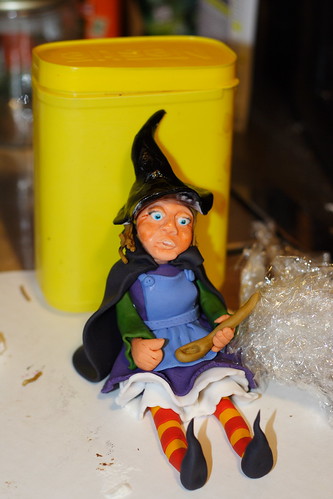
I made the green sleeves and then added the hands.
14. Some extra decoration like- broom, books, cat, candleholder, potions etc, and you are ready!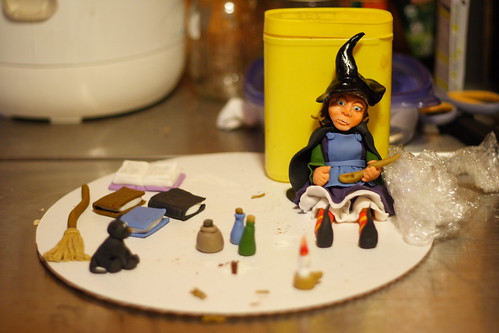
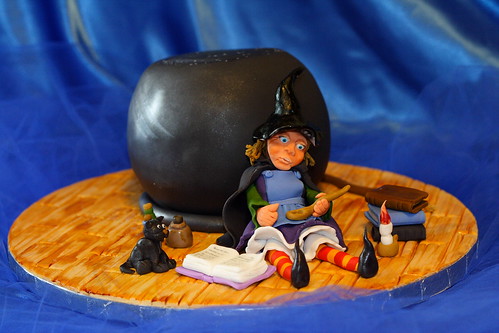
15. Here it is: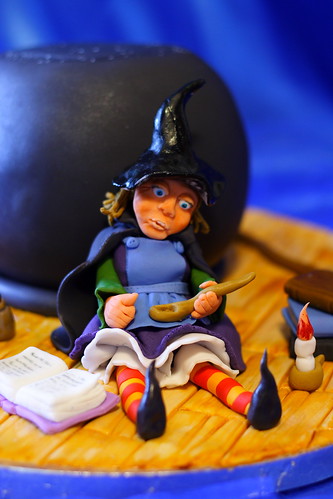
And here is the finished cake again!